Learning to shape your shots with a mini driver can transform your game. These versatile clubs offer more control than traditional drivers while maintaining impressive distance. Whether you need to curve around obstacles or hold a tight fairway, mastering fades and draws opens up new strategic possibilities on the course.
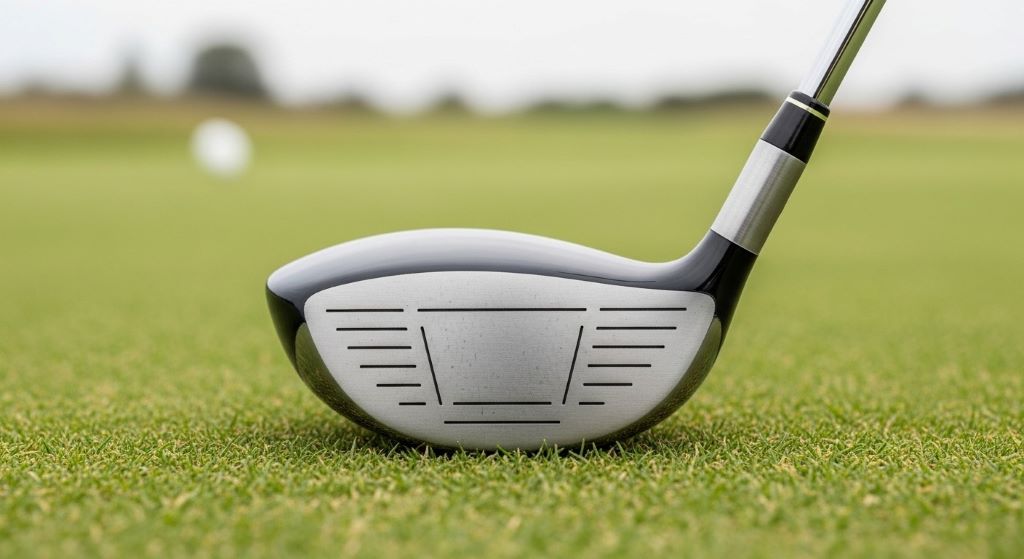
Mini drivers typically measure between 11 and 12 inches in length, shorter than standard drivers but longer than fairway woods. This design provides a unique combination of forgiveness and workability. Many golfers find these clubs easier to control, making them ideal for learning shot-shaping techniques.
Understanding Shot Shape Basics
Before diving into technique, you need to understand what creates fades and draws. A fade curves gently from left to right for right-handed golfers, while a draw moves right to left. These shapes result from the clubface angle and swing path relationship at impact.
The ball starts its flight based on clubface direction. Subsequently, it curves according to the path difference. Therefore, controlling both elements allows you to shape shots predictably and consistently.
Setting Up for a Fade
Your setup determines much of your success with fades. Start by aiming your body left of the target. However, keep your clubface pointing at your actual target. This creates the necessary path-to-face relationship for a left-to-right ball flight.
Position the ball slightly forward in your stance, approximately one inch ahead of center. Additionally, open your stance by pulling your lead foot back slightly from the target line. This encourages an outside-to-inside swing path, essential for producing fade spin.
Grip pressure matters significantly when hitting fades. Maintain a slightly firmer grip with your lead hand. This prevents the clubface from closing too quickly through impact. Nevertheless, avoid tension in your forearms and shoulders, which restricts natural rotation.
Executing the Fade Swing
Your swing path creates the fade’s characteristic curve. Focus on swinging along your body line rather than the target line. This means your club travels slightly outside the target line on the downswing, then moves inside after impact.
Keep your weight favoring your lead side throughout the swing. This promotes a steeper angle of attack, which enhances fade spin. Moreover, feel like you’re holding off the release slightly through impact. Your hands should lead the clubhead longer than in a neutral swing.
The mini driver’s shorter shaft helps maintain this control. According to golf instruction experts at Golf Digest, the reduced length provides better command over swing path, making it easier to execute intentional fades consistently.
Setting Up for a Draw
Draw setup requires opposite adjustments from the fade. Aim your body right of the target while positioning your clubface at the target. This alignment creates an inside-to-outside swing path necessary for right-to-left curve.
Place the ball one to two inches back from your fade position, roughly center or slightly behind center in your stance. Close your stance by dropping your trail foot back from the target line. Furthermore, ensure your shoulders align with your feet, promoting the desired swing direction.
Soften your grip pressure slightly compared to your fade setup. This allows the clubface to rotate more freely through impact. However, maintain enough control to prevent excessive closing, which causes hooks rather than controlled draws.
Executing the Draw Swing
The draw requires a more rotational swing motion. Feel like you’re swinging from inside the target line, moving outward through impact. Your club should approach the ball from behind your body, then release toward the target.
Allow your arms and hands to rotate naturally through impact. Unlike the fade, where you hold off the release, the draw benefits from active hand rotation. Think about your trail hand rolling over your lead hand just after contact.
Weight transfer plays a crucial role in draw execution. Shift your weight aggressively to your lead side during the downswing. This promotes the shallow, inside approach path that generates draw spin. Additionally, maintain your spine angle throughout the swing to ensure solid contact.
Adjusting Ball Position for Different Curves
Ball position fine-tunes your shot shape intensity. Moving the ball forward in your stance increases fade severity, while positioning it further back enhances draw curvature. Therefore, experiment with small adjustments to find your optimal positions.
For gentle fades, keep the ball only slightly forward of center. Dramatic fades require more forward positioning. Conversely, subtle draws need minimal repositioning backward, while aggressive draws benefit from ball placement well behind center.
The mini driver’s compact design makes these adjustments more effective. Research from the United States Golf Association shows that shorter clubs provide greater precision in controlling launch conditions, including the spin that creates shot shape.
Clubface Angle Management
Clubface control separates consistent shot shapers from inconsistent ball strikers. For fades, your clubface should point slightly right of your swing path at impact. However, it must still aim left of the target to start the ball on the correct line.
Draw shots require the opposite relationship. Your clubface needs to point left of your swing path while aiming right of the target. This sounds complicated, but proper setup naturally creates these relationships.
Practice monitoring your clubface awareness throughout your swing. Feel where it points at address, halfway back, and through impact. Additionally, use alignment sticks during practice to visualize these angles clearly.
Common Mistakes to Avoid
Many golfers make the fade mistake of aiming their body at the target. This forces manipulation during the swing, causing inconsistent results. Instead, trust your setup alignment and swing naturally along your body line.
For draws, the most common error involves flipping the hands at impact. This creates hooks rather than controlled draws. Focus on body rotation pulling your arms through impact instead of independent hand action.
Another frequent issue involves trying to shape shots with only clubface manipulation. True shot shaping requires coordinated changes in both path and face angle. Therefore, commit fully to your setup adjustments rather than attempting compensations during the swing.
Practice Drills for Better Shot Shaping
Start with alignment stick drills. Place one stick along your target line and another along your body line. This visual feedback reinforces proper setup for both fades and draws. Furthermore, practice taking your stance without hitting balls to ingrain correct positioning.
Try the gate drill for path control. Set up two alignment sticks or tees creating a gate just beyond your ball position. For fades, position the gate outside your target line. For draws, place it inside. Successfully swinging through the gate confirms correct path direction.
Additionally, practice on the range with specific targets. Choose a landing area for your desired curve rather than attempting straight shots. This target-focused approach develops the feel necessary for course management.
When to Use Fades Versus Draws
Course strategy dictates which shot shape suits different situations. Fades work excellently for holding narrow fairways because they land softer and roll less. However, draws maximize distance through additional roll, ideal for longer holes.
Wind conditions also influence shot selection. Fades fight left-to-right wind effectively, while draws combat right-to-left breezes. Moreover, consider trouble locations when choosing your shape. Curve away from hazards to provide margin for error.
Your natural shot tendency matters too. If you typically hit fades, exaggerating that pattern proves easier than fighting it. Therefore, develop proficiency in your natural shape before attempting the opposite curve.
Conclusion
Mastering fades and draws with your mini driver provides strategic advantages throughout your round. These shot-shaping techniques require proper setup, committed swing paths, and precise clubface control. Start by understanding the fundamentals of each shot shape, then practice the specific adjustments needed for consistent execution.
Remember that setup determines most of your success. Align your body and clubface correctly for your desired shape, then trust your swing to produce results. The mini driver’s controllable design makes it perfect for developing these skills before progressing to longer clubs.
Practice regularly with purpose, using drills that reinforce correct technique. Soon, you will confidently shape shots around obstacles, hold tight fairways, and adapt to various course conditions. Your improved shot-making ability will lower scores and increase enjoyment of this challenging game.
Frequently Asked Questions
What is the main difference between a fade and a draw?
A fade curves gently from left to right for right-handed golfers, while a draw moves right to left. Fades typically fly higher and land softer, whereas draws produce lower trajectories with more roll. Both shots result from specific combinations of swing path and clubface angle at impact.
Is a mini driver easier to hit than a regular driver?
Yes, most golfers find mini drivers easier to control due to their shorter shaft length and slightly smaller clubhead. The reduced length provides better accuracy and consistency, though you may sacrifice 10 to 20 yards compared to a standard driver. This trade-off often proves worthwhile for improved fairway-finding percentages.
Can beginners learn to hit fades and draws?
Absolutely, though beginners should first develop a consistent, repeatable swing before attempting shot shaping. Once you can make solid contact regularly, start with gentle fades and draws using the setup adjustments described above. Progress gradually from subtle curves to more dramatic shapes as your skill develops.
How much should the ball curve on a properly hit fade or draw?
A controlled fade or draw with a mini driver typically curves 5 to 15 yards. Anything less than 5 yards is essentially straight, while curves exceeding 15 yards indicate slices or hooks rather than controlled shots. The goal is predictable, manageable curvature that you can use strategically.
Should I change my grip when hitting fades versus draws?
Minor grip adjustments can help, though setup and swing path changes matter more. For fades, slightly strengthen your lead hand grip to prevent excessive closing. For draws, a marginally weaker lead hand grip promotes natural rotation through impact. However, avoid dramatic grip changes that disrupt your overall technique.
Related Topics:
Crush Your Slice: Proven Techniques to Fix Golf Swing from Beginner to Pro
Golf Driving Tips: Add 30 Yards to Tee Shots